# Configuring the OpenHarmony SDK
- [Prerequisites](#section164161442154812)
- [Configuring the SDK Information](#section1265592425017)
- [Importing the Project](#section12559415183418)
To set up the OpenHarmony app development environment, configure the corresponding SDK information in DevEco Studio first.
> **NOTE:**
>The OpenHarmony SDK is of the API Version 6 Canary1, with some toolchains removed, which is not applicable to HarmonyOS app development.
## Prerequisites
- DevEco Studio 2.1 Release version has been downloaded and installed. You can click [here](https://developer.harmonyos.com/en/develop/deveco-studio#download) to download it.
- The OpenHarmony SDK package has been obtained and decompressed. You can click [here](https://mirror.iscas.ac.cn/OpenHarmony/sdk/OpenHarmony-SDK-2.0-Canary.7z) to download it.
## Configuring the SDK Information
DevEco Studio manages SDKs and toolchains using SDK Manager. OpenHarmony contains the following SDK packages:
Type
Package Name
Description
SDK
Java
SDK for Java.
JS
SDK for JS.
SDK Tool
Toolchains
Includes compiling, packaging, signing, database management, and other tools that are required to develop OpenHarmony apps.
Previewer
OpenHarmony app previewer, which can be used to view the UI layout during app development.
1. Open DevEco Studio. If this is the first time you are using it, select **Do not import settings** and click **OK**.
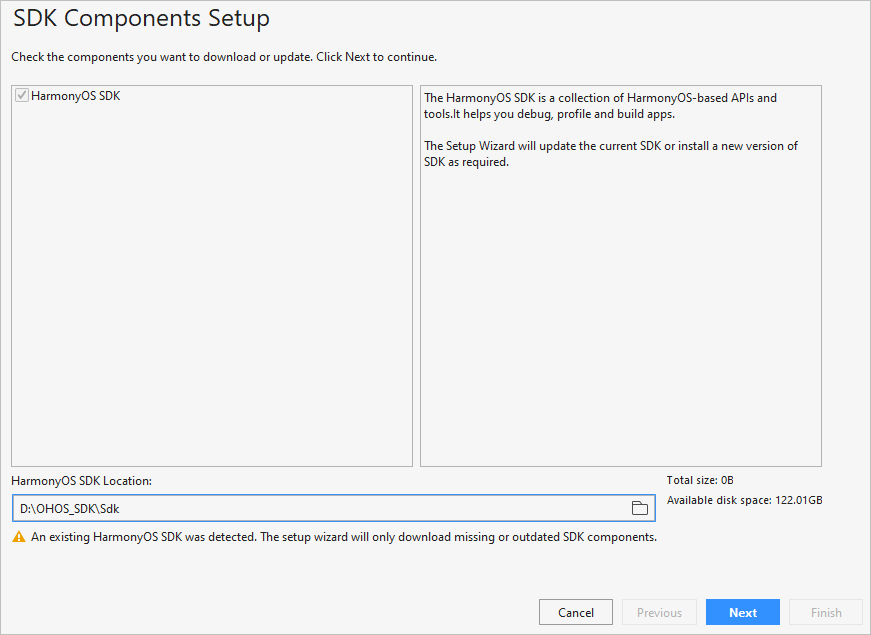
2. Follow the instructions in DevEco Studio to go to the SDK download page. In the **HarmonyOS SDK Location** field, select the local directory where the SDK package was decompressed, then click **Next**.
> **NOTE:**
>If you are not using DevEco Studio for the first time, the SDK download page may not be displayed. In this case, go to **Configure \> Settings \> Appearance & Behavior \> System Settings \> HarmonyOS SDK** and click **HarmonyOS SDK Location** to download the SDK.
3. After the SDK is installed, click **Finish**. The DevEco Studio welcome page will then be displayed.

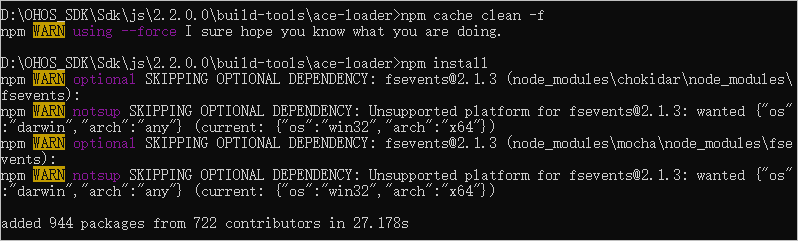
4. Go to the **Sdk\\js\\2.2.0.0\\build-tools\\ace-loader** directory, run the following commands in CLI, and wait until the installation is complete.
```
npm cache clean -f
npm install
```
## Importing the Project
After the OpenHarmony SDK is configured, you can start developing your app only by **importing a sample project** to begin with.
1. On the DevEco Studio welcome page, click **Import HarmonyOS Sample** to import a sample project.

2. Go to **ability** \> **HelloWorld** and click **Next**.

3. Configure **App Name** and **Project Location** and click **Finish**. Wait until the sample project is imported.

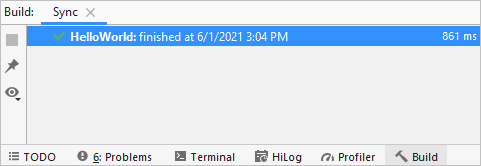
4. Wait until the project sync is indicated to be failed. Open the **build.gradle** file in the project and change the version number of the HAP plugin to **2.4.4.3-RC**.

5. Click  under **Gradle** in the upper right corner to sync the project again.

6. When the project is successfully synced, you can develop your OpenHarmony app.